
July 7th, 2007
The second log had more problems. The hole I dug was too large, meaning that I’d have to use a lot of cement. Fortunately, I was able to purchase a cylindrical form that was just barely big enough. But then I had to choose a log. The first one I cut down and dragged out to the site, then stripped off the bark. It was no good; with the bark off, it was plain to see that the log just wasn’t straight enough. So I dragged it down to the woodpile to cut it up and make firewood.
The second log was chosen carefully and proved to be absolutely straight -- but when I got the bark off, it turned out to be full of deep checks. A check is a vertical crack in the wood. Logs crack this way as they dry out, which is why loggers keep them soaking wet until it comes time to saw them up. So, off to the woodpile with the second log.
The third log turned out to have a lot of rot in its lower end. I was tempted to give up on it, but decided that there was enough solid wood to hold up for a long time. However, I had to remove the rotted wood from the portion that would be below ground; as that wood continued to soften, it would permit the pole to shift position -- not acceptable. So I chiseled off about an inch of wood from the exterior of the lowest four feet, then painted the whole thing with anti-rot green stuff that smells nasty. I cleaned off the rest of the log (a big job by itself), then moved it into final position.
I jacked up the log and placed rounds (short log sections) underneath it, continuing the jacking process until I had raised it up about three feet. Unfortunately, because the ground sloped downward, this served only to make the log horizontal. Then, on July 4th, for the entertainment of a few friends, I attempted the log-raising -- and failed. Because the log was horizontal, it was free to swing sideways, which it did, ruining any chance of raising it directly into the hole. So much for the big show.
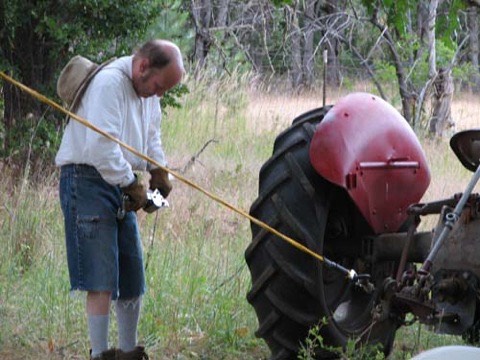
The next day I disassembled the log pile, dug a hole for a short secondary pole such as I had used for the first log, and put in a small log about seven feet above the ground. I positioned the main log next to it, hooked up the cables and come-alongs, and went to work. This first photo shows me just beginning to use the come-along to lift the log:

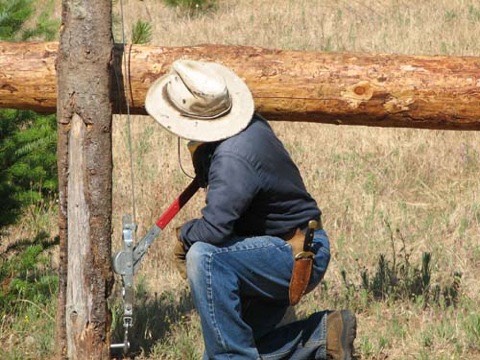
Here’s a close-up of the cranking process. My cranking is pulling the steel cable downwards; the cable goes through a pulley at the top of the pole down to the log. thereby pulling the log up as I crank down:
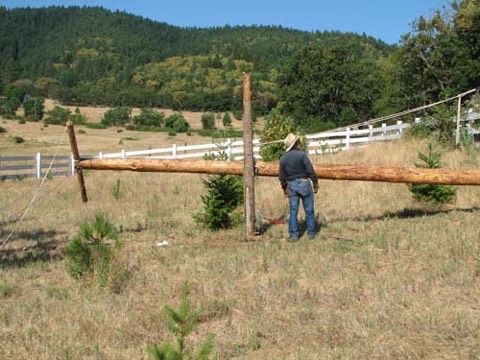
I frequently paused to check the entire situation. In this photo, I’m checking the lineup of the log with the first log:
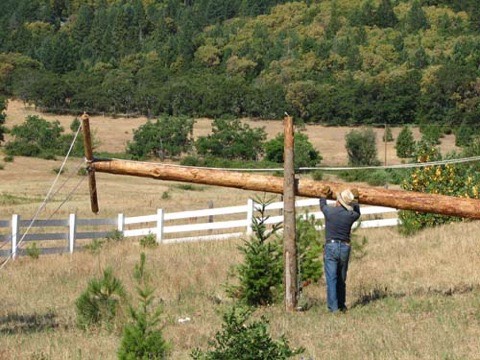
Here I’m pushing the log so that it will clear a knot in the short pole:
Now the log is higher and I’m checking that the tie rope at the top is still centered properly.
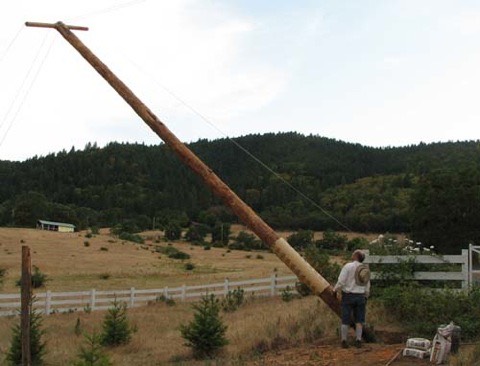
This last shot shows me preparing a come-along so I can switch from the current come-along (at the base of the tractor, fully retracted) to the second come-along. This will free the main come-along so that I can reposition it fully extended and ready for more use. By the way, you’ll almost never see me in anything other than full-length jeans, but this was a scorching hot day and I had no intention of doing any serious work. Serious work requires full-length jeans. I was just repositioning the come-along and cranking the log into final position.
With a bit more work, I got the log in place, adjusted it for true vertical, poured the concrete, let it set, and filled the rest of the hole with dirt.
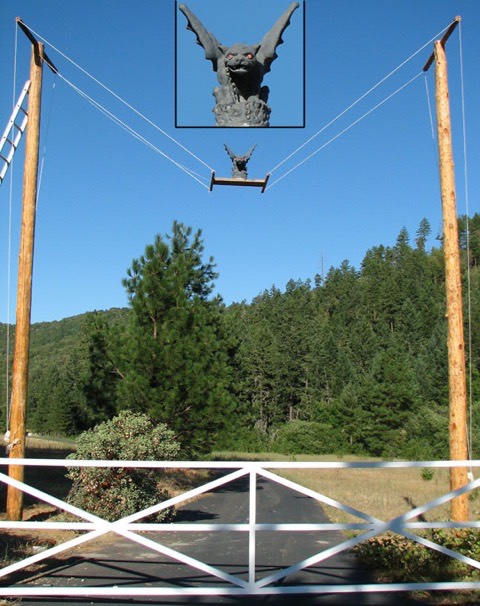
I obtained some super-bright red LED’s, set them into the eyes of my gargoyle, designed and built a circuit that makes them brighten and dim on a three-second cycle. I set up all the wiring and hoisted the gargoyle into place. Here is the end result of my labors:
Addendum: the gargoyle came crashing down in late October, 2011. Read the sad tale of its demise.